RapidWright Eclipse Setup
Eclipse Step-by-Step Instructions
Make sure you have Java JDK 1.8 (or later) installed: http://www.oracle.com/technetwork/java/javase/downloads/jdk8-downloads-2133151.html Follow the instructions when running the downloaded executable. Add the
$(YOUR_JDK_INSTALL_LOCATION)/jdk1.x.x_x/binfolder to yourPATHenvironment variable.Download Eclipse: http://www.eclipse.org/downloads/packages/eclipse-ide-java-developers/oxygen2
Install Eclipse by extracting the archive into a desired folder on your computer
Run Eclipse (you may want to add the executable to your path)
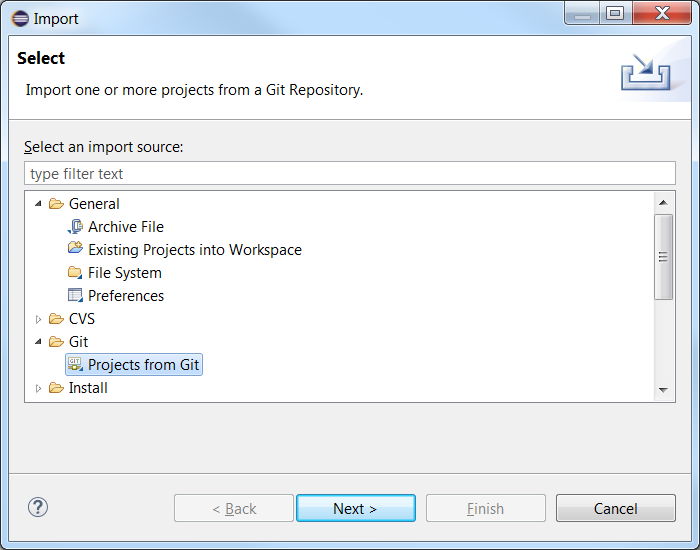
In Eclipse, choose the File->Import… menu option. This will bring up a dialog, choose the Git/Projects from Git option as shown in the screenshot below (click Next):
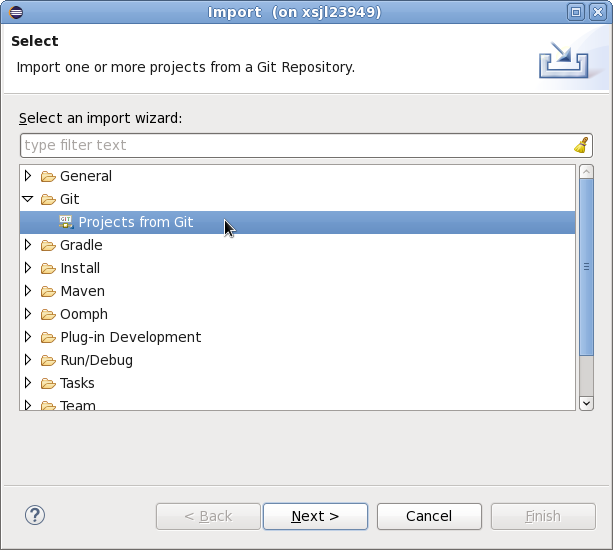
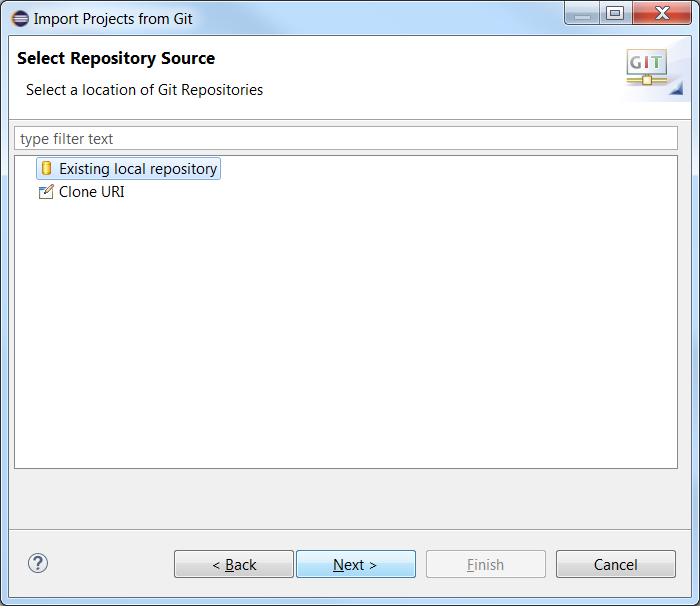
Choose Clone URI and click Next:
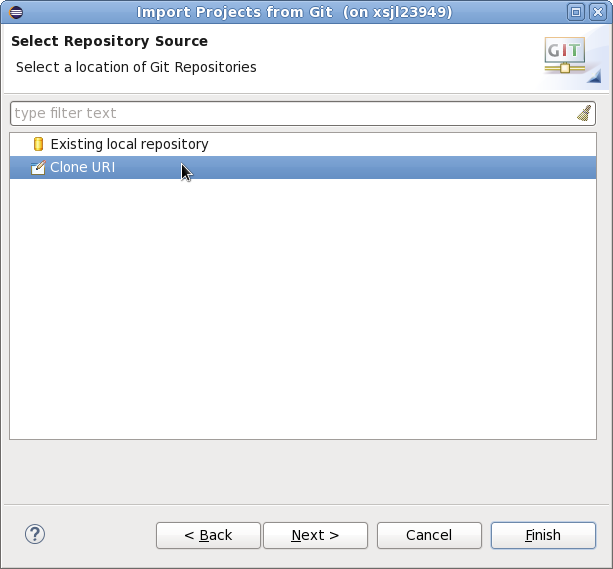
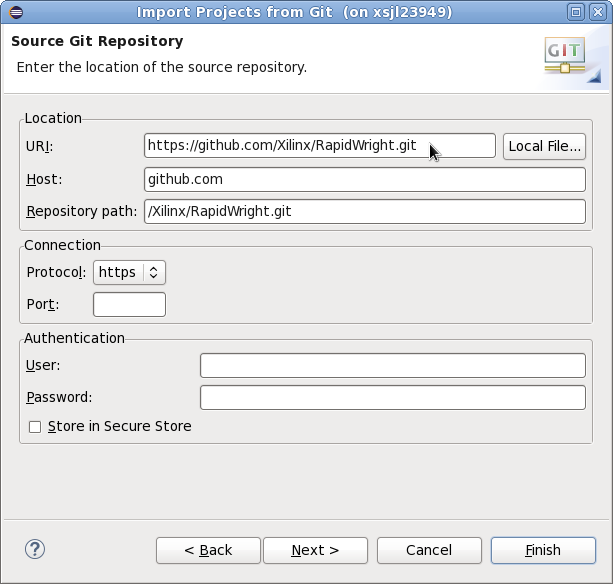
Copy and paste
https://github.com/Xilinx/RapidWright.gitinto the URI box as shown below. The Host and Repository path fields should automatically be populated. Enter user and password (if applicable).
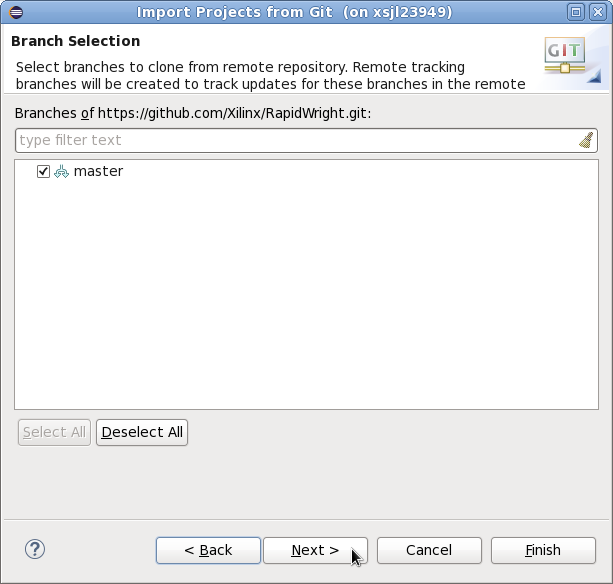
Choose the master branch, click next:
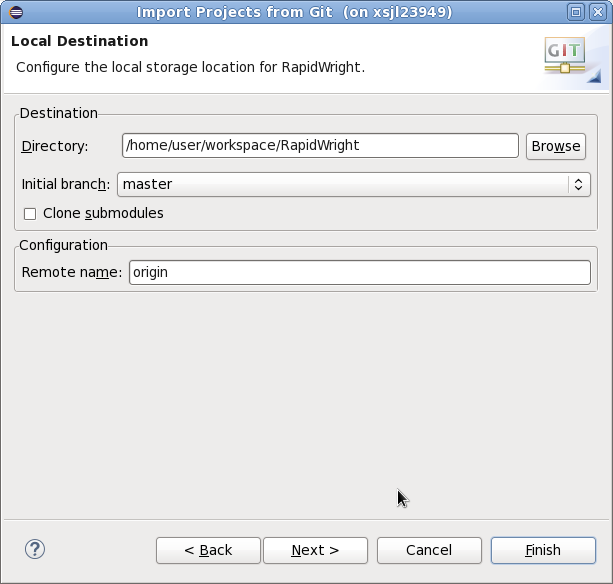
Choose the location of where you want Eclipse to put your RapidWright workspace. Preferably, you should choose a workspace directory with any other Eclipse projects such as
/home/user/workspace/RapidWright. Click next to have Eclipse clone the repo into your workspace.
Setup Eclipse with Existing Repo
If you already have the RapidWright repository checked out, you can import it into an Eclipse workspace by following these steps (you can skip to Step 5 if you already have Eclipse installed and open)
Make sure you have Java JDK 1.8 (or later) installed: http://www.oracle.com/technetwork/java/javase/downloads/jdk8-downloads-2133151.html Follow the instructions when running the downloaded executable. Add the
$(YOUR_JDK_INSTALL_LOCATION)/jdk1.x.x_x/binfolder to yourPATHenvironment variable.Download Eclipse: http://www.eclipse.org/downloads/packages/eclipse-ide-java-developers/oxygen2
Install Eclipse by extracting the archive into a desired folder on your computer
Run Eclipse (you may want to add the executable to your path)
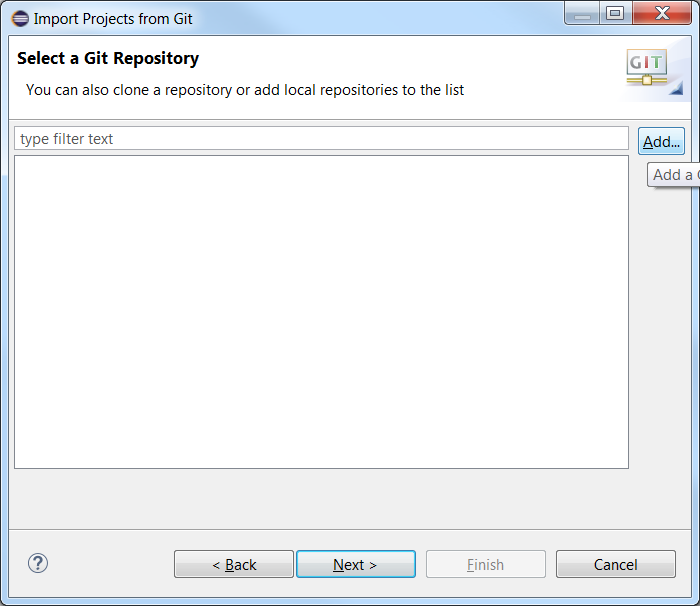
In Eclipse, choose the File->Import… menu option. This will bring up a dialog, choose the Git/Projects from Git option as shown in the screenshot below (click Next):
Choose ‘Existing local repository’, then click Next
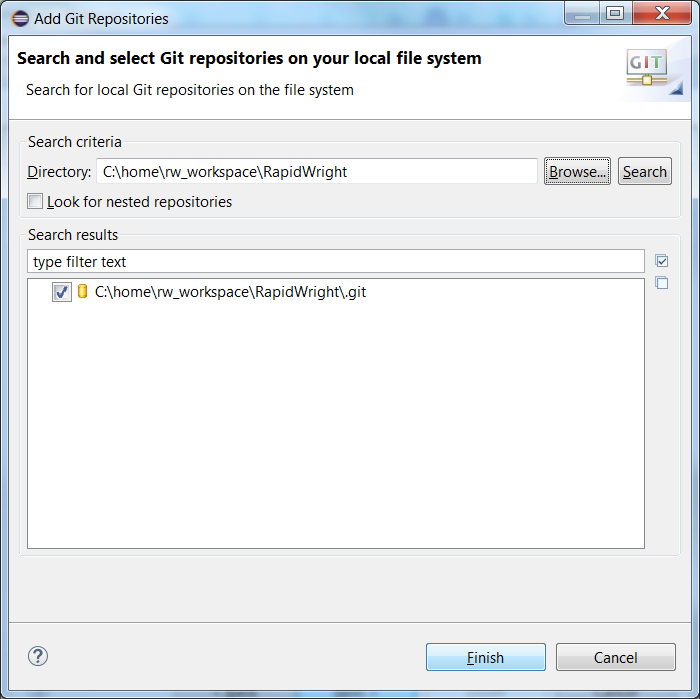
Select the existing repository by clicking the ‘Add…’ button
Enter the location of the repository in the ‘Directory:’ text box, check the box next to the name of the repo once it appears in the lower window. Click ‘Finish’ and then ‘Next’ on the previous window.
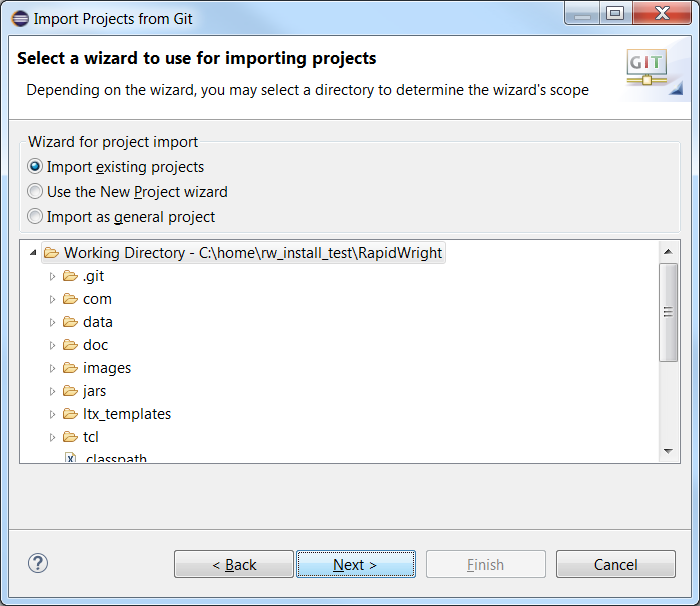
On the Wizard selection window, choose ‘Import existing projects’. Then, click ‘Next’.
Finally, click ‘Finish’ to finalize the import.
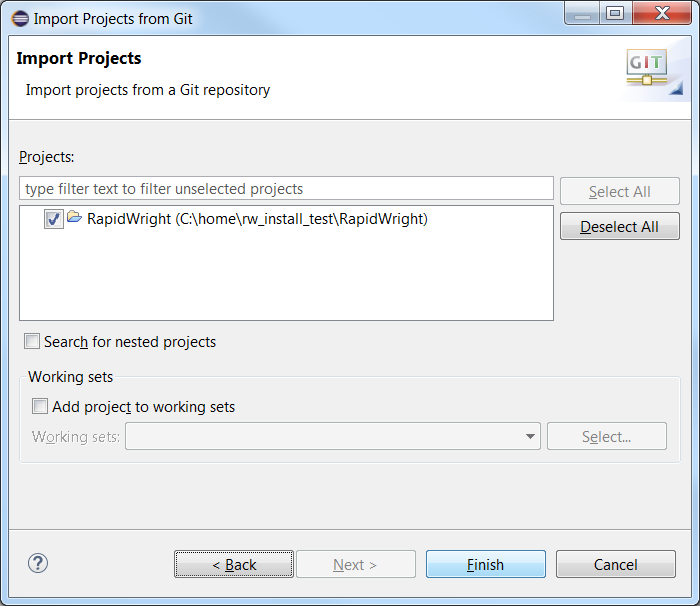
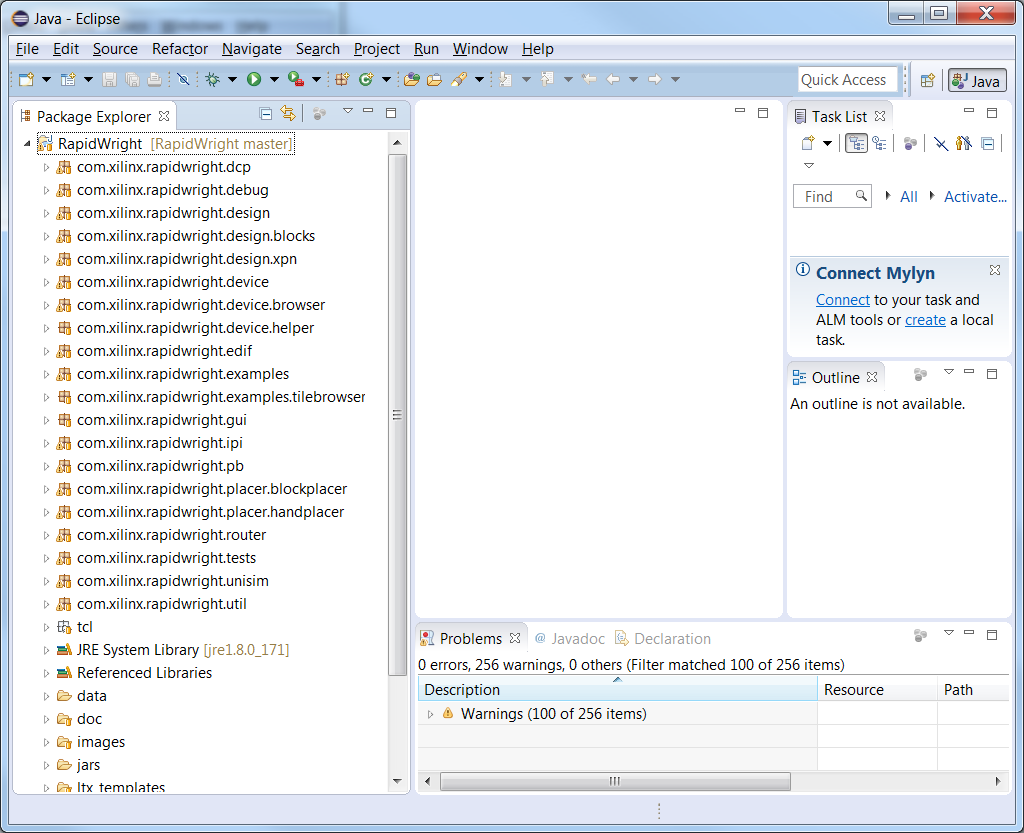
Eclipse will then import the project, compile all the source and it should look similar to the screenshot below: