RapidWright Jupyter Notebook Kernel Setup
A Jupyter Notebook is an open source web application that allows you to create and share live documents that can embed and run code. As RapidWright has a built-in Python interpreter (Jython – a Python interpreter implemented in Java), RapidWright can harness the Jupyter Notebook paradigm for tutorial, demonstration and design analysis. This page describes how to setup a Jython kernel for use on a local machine to enable RapidWright-capable notebooks.
Pre-requisites
RapidWright 2023.1 or above
Python and Jupyter Notebook, see installation details here.
A web browser
Step-by-Step Instructions
Make sure Python and Jupyter Notebook is installed following the directions provided by project Jupyter.
If running RapidWright from the standalone jar, run:
java -jar rapidwright-2018.3.0-standalone-lin64.jar --create_jupyter_kernel
for all other installs run:
rapidwright StandaloneEntrypoint --create_jupyter_kernel
Install the Jython 2.7 kernel by running the following at the command line:
jupyter kernelspec install <path_to_kernel_file_dir>
Two other useful commands if you make a mistake and need to undo is:
To list all the installed kernels, run:
jupyter kernelspec list
To remove an installed kernel by name (obtained from list command), run:
jupyter kernelspec uninstall <kernel_name>
Run the jupyter notebook server by running:
jupyter notebook
The console output should look similar to the image below.

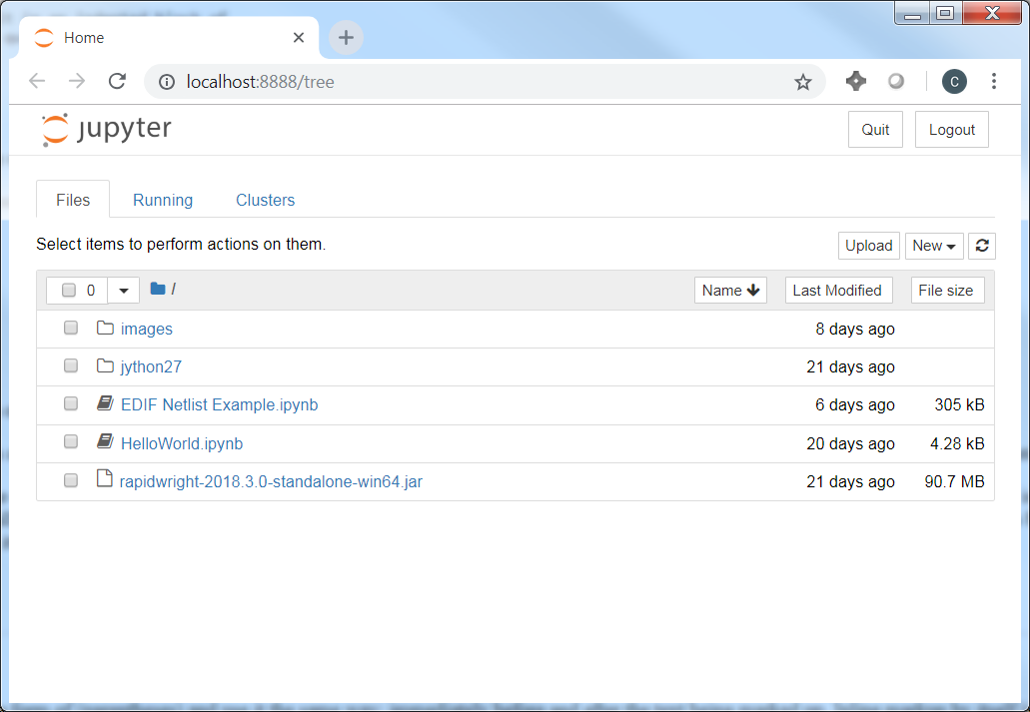
If the Jupyter Notebook directory page does not open automatically (example in screen capture below), copy and paste the provided URL into your browser (example URL highlighted in the image above).
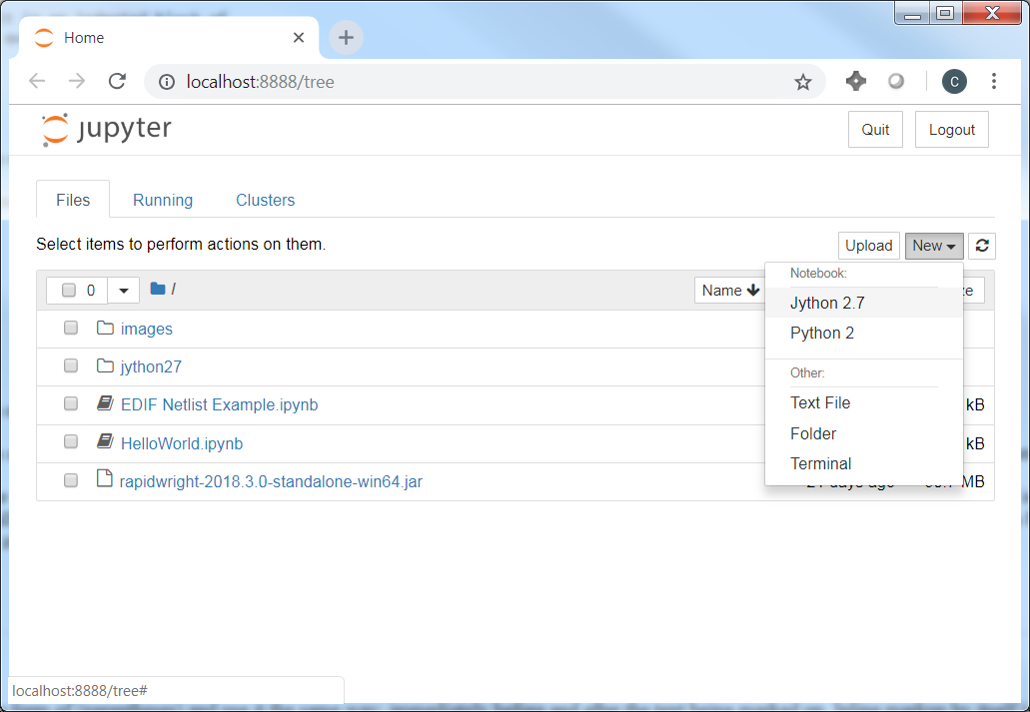
Create a new notebook by clicking on the new button and selecting ‘Jython 2.7’ from the drop down menu as shown in the screenshot below:
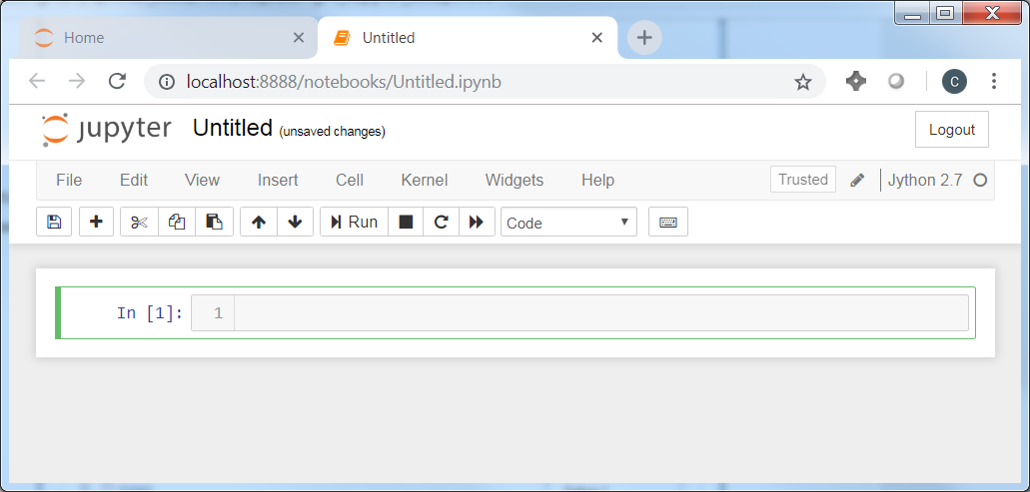
In the new notebook, you’ll see a long rectangular box where you can enter code. This is called a cell.
To get started, try entering some import commands as shown in the screenshot below. You can then click on the “Run” button to run the code from the cell in the kernel.
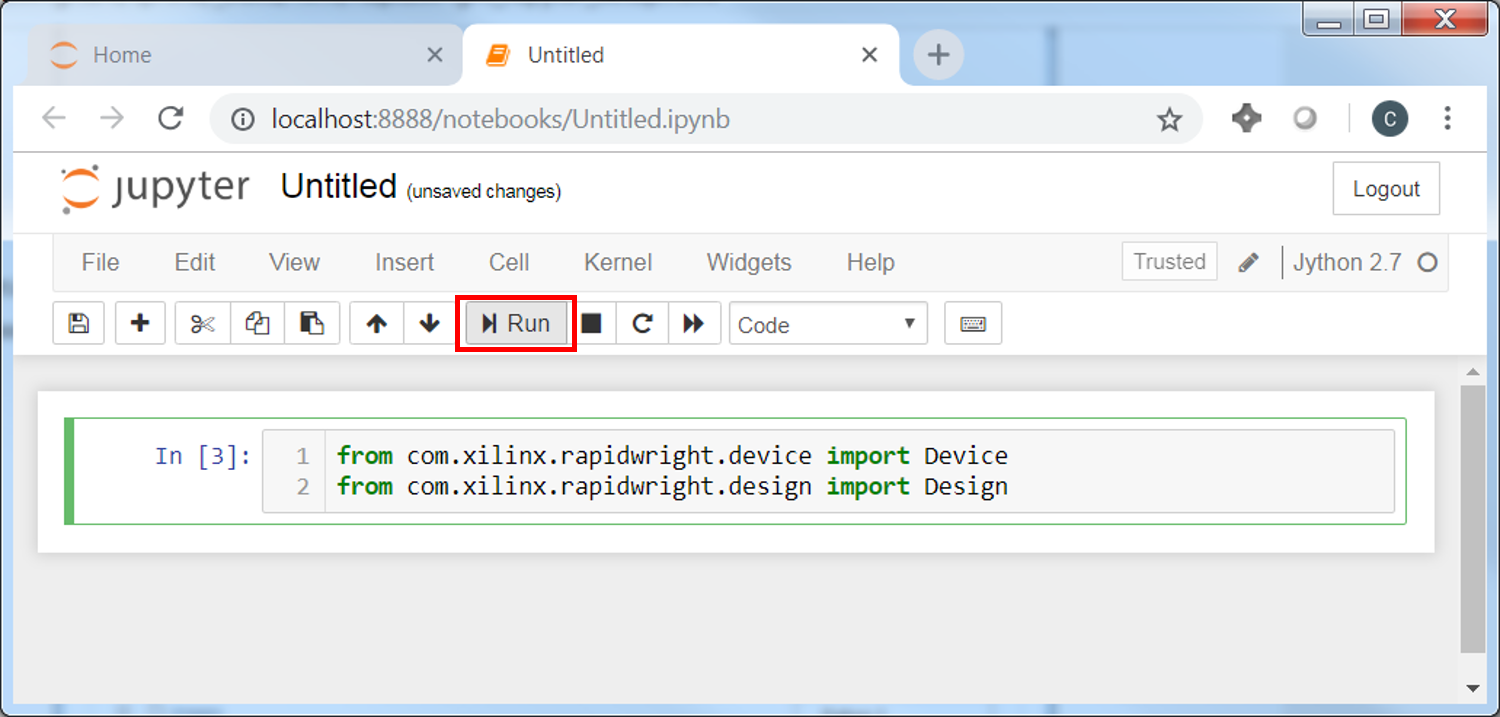
from com.xilinx.rapidwright.device import Device
from com.xilinx.rapidwright.design import Design
The results from executed commands persist from one cell to the next as long as the Jython kernel stays alive and will maintain all state variables. The “Run” button also creates a new cell below the last one executed. Now that we have imported some RapidWright libraries, we can use tab completion to see inside objects their visible methods and members.
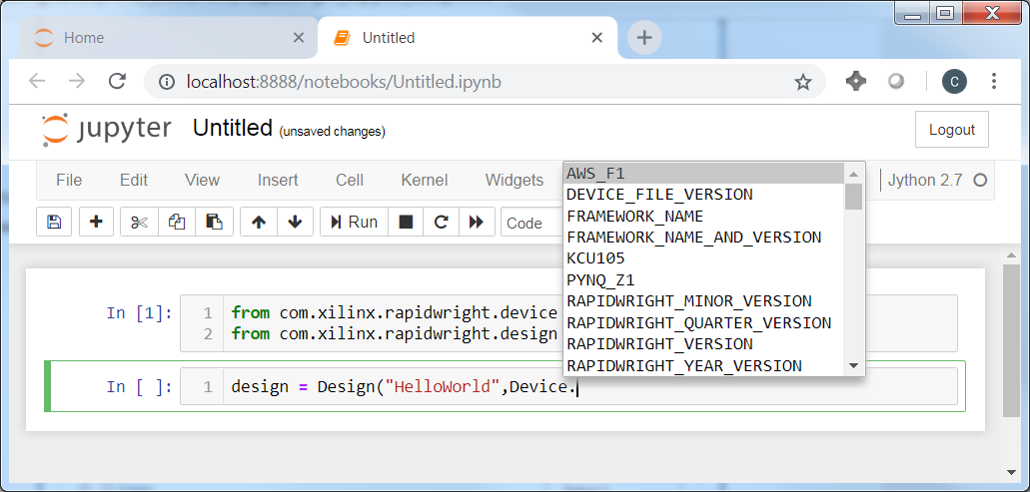
For a quick example, we can create an empty design and write out a design checkpoint. Another way to execute a cell is with the keyboard shortcut CTRL+ENTER.
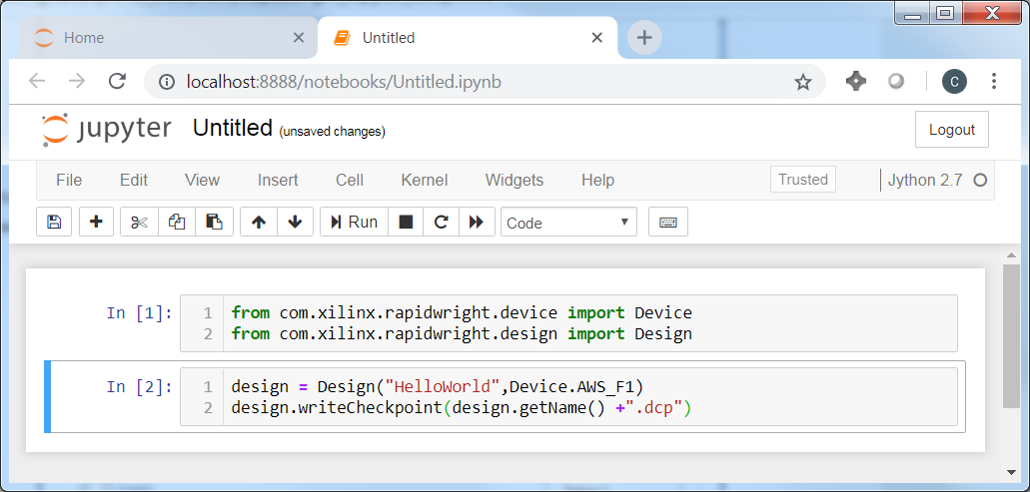
design = Design("HelloWorld",Device.AWS_F1)
design.writeCheckpoint(design.getName() + ".dcp")
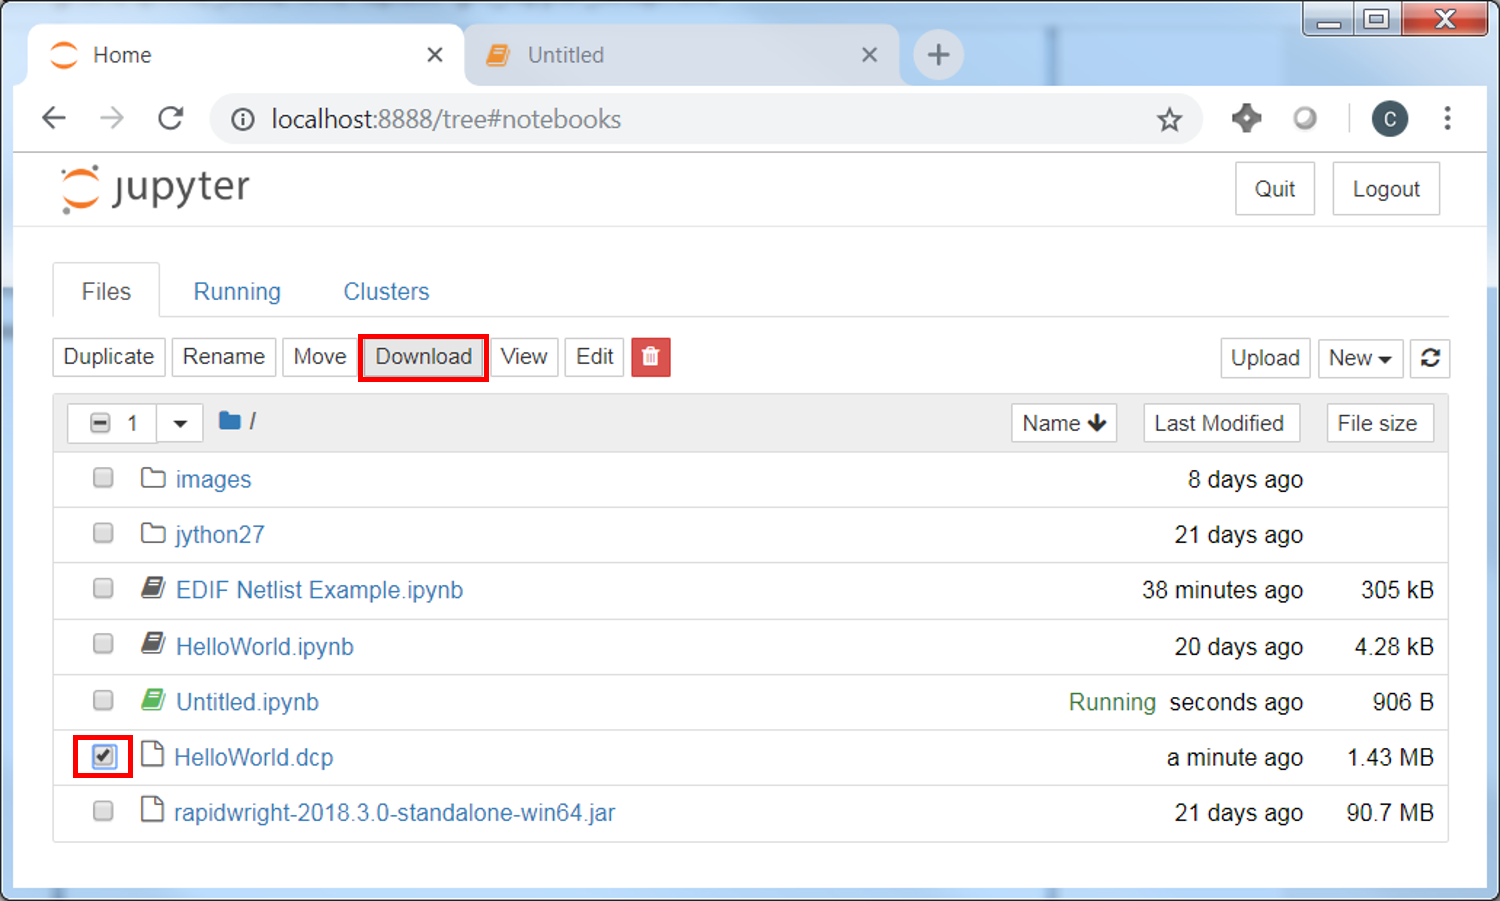
By going back to the Jupyter Dashboard (click on the Jupyter logo at the top left of the page), we can find the recently created DCP and select it for download.
Using Jupyter Notebooks is still a new technology, but will allow for easy demonstration of coding examples and techniques to use RapidWright. We hope to leverage its infrastructure significantly in the coming future.